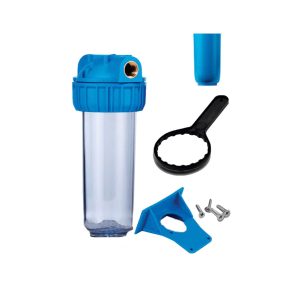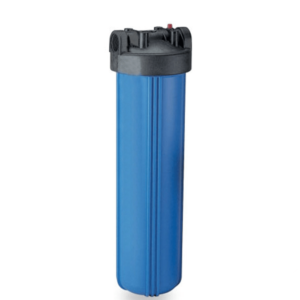

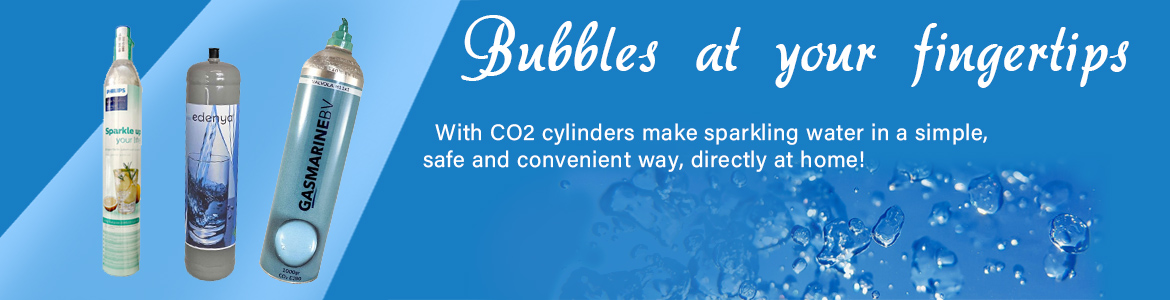


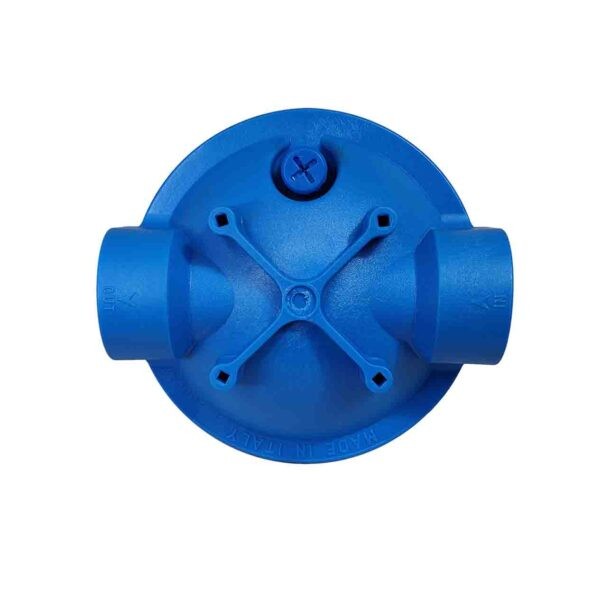
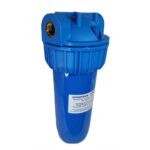
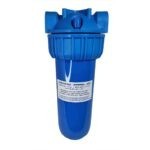
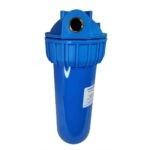
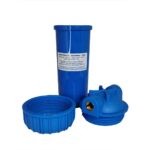
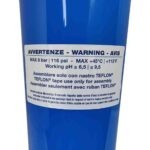
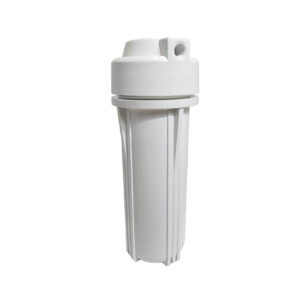
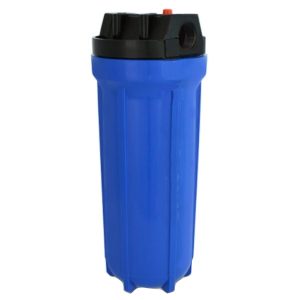
The 3-piece opaque container 10″- in-out 3/4″ is only used for water filtration with pH between 6.5 and 9.5. In case of water with PH lower or higher than the indicated limits, use only pure polypropylene (PP) marked containers.
* In the case of drinking water filtration, do not use with unsafe water or water of unknown quality without a suitable disinfection system before or after the filter.
* Protect from light, install under direct light only models with opaque glass.
* Protect against flow returns with a non-return valve.
* Protect against water hammer with a water hammer system. In case of installation on systems fed with pump and in particular on those equipped with pressure switch, an additional expansion tank must be inserted upstream of the filter to protect it from any/ continuous pressure peaks.
* Do not install near electrical appliances.
Guidelines for the correct installation
Install the products in sheltered environments protected from frost and excessive heat.
– Before installation, check that the hydraulic system is carried out according to the rules of the art in force.
-For products with pressure gauges: apply sealing tape to the thread of the pressure gauges and then screw them, without tightening them too much, in the 1/8 thread connection” on the top of the head; when the filter starts up, in case of water leakage, add sealing tape or screw more firmly. In the case of models with a brass head, unscrew the caps on the top of the head and screw on the manometers following the above procedure.
-For products with caps (screws) for pressure gauges: screw on the caps (equipped with o-rings) tightly.
-For products with exhaust kit: screw the plastic nipple with o-ring to the threaded connection for the discharge on the bottom of the container, screw the ball valve to the nipple, after checking the presence Gela gasket, then screw the ball valve to the exhaust funnel 0 to the hose, after checking the presence of the gasket.
-For products with drain plug: screw the plug tightly.
Installation
– Close the general water tap.
– Before installation, thoroughly lubricate the o-ring at the top of the glass.
– Ask the supplier for a suitable lubricant for food.
– Avoid any tension by using wall brackets as supports.
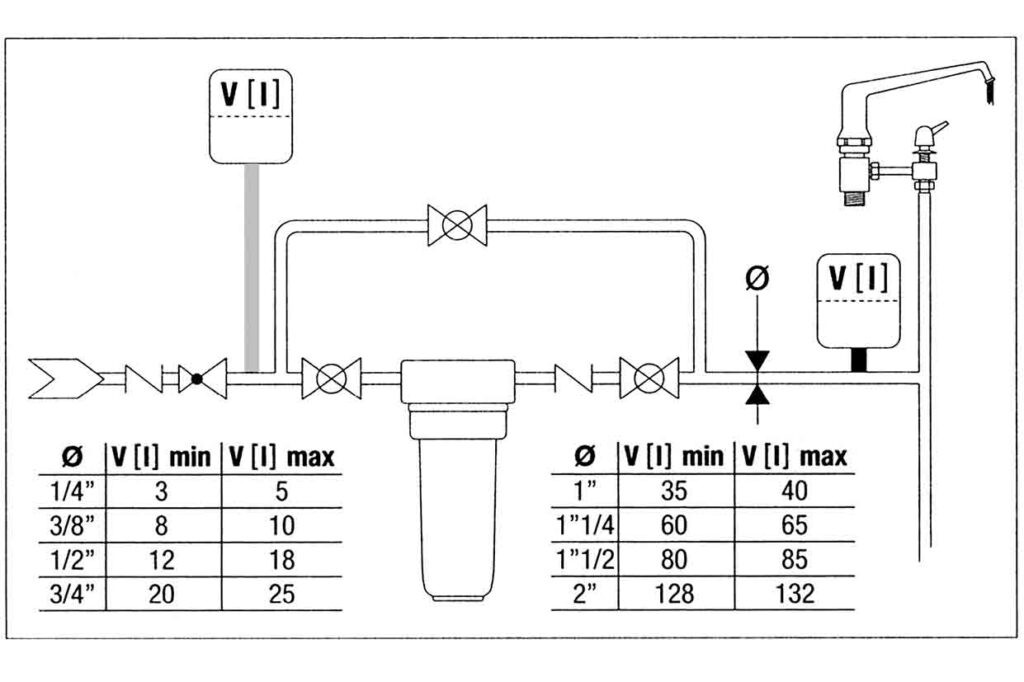
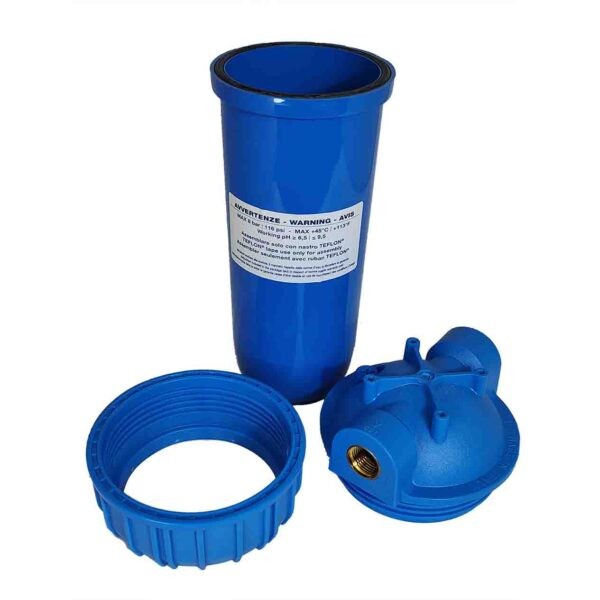
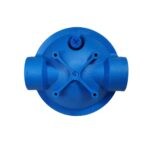
– Connect the input to the side of the product with the indication IN and the output to the side with the indication OUT.
– Connect with conical NPT fittings (ANSI/ASME B1 20.1) only if the product is marked NPT on the head.
– Use only tape as sealant for connections.
– Installation of a By-pass is recommended.
– Open the water tap.
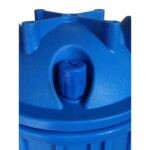
– Vent the filter by opening the vent valve and then screw it back on.
– For products with discharge kits, pressure gauges, or drain plugs and/or pressure gauges, ensure that all parts are watertight: in case of leakage after tightening, seal all threads of all parts with sealing tape and check that there is no further leakage.
Note: After installation, run the water at least 5 minutes before use.
Maintenance
– Periodically clean with a soft sponge and cold water. Replace the glass at least every 5 years.
– Before opening the container: close the main water tap and remove the pressure by unscrewing the vent valve on the filter head. Then screw back the vent valve.
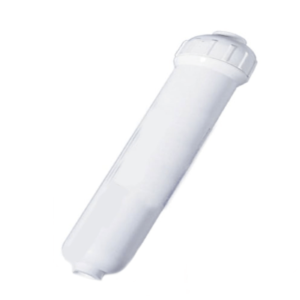
– If not in use for a long time: remove the cartridge; when re-use a new piece of paper.
– Check the seal of the container, if there are any water leaks between the head and the glass lubricate the o-ring or replace it with a new one.
Note: After maintenance, run the water at least 5 minutes before use.
Cartridge replacement
Follow the current rules for the disposal of used cartridges.
1 Close the water tap before opening the container.
2. Remove pressure by unscrewing the vent valve on the filter head. Then screw the vent valve back on.
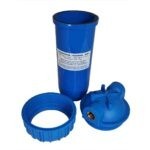
3. Open the container by unscrewing the glass using the appropriate key.
4. Remove the used cartridge.
5. Clean the container with a soft sponge and cold water.
6. Remove the new cartridge from the casing.
7. Place the new cartridge in the container.
8. Fasten the glass to the head using the appropriate key, without tightening too much.
9. Open the general water tap.
10. Slowly open a tap after the filter.
11. Vent the filter by opening the vent valve and then screw it back on.
Note that the water runs at least 5 minutes before use.
ATTENTION: When restarted after any maintenance and/or replacement, when the filter cup is unscrewed from the head, replace the o-ring and lubricate thoroughly before screwing the cup back to the head. Make sure there is no water leakage and in particular check the clamping between the head and the filter cup. Check that there is no water leakage for 48 hours after installation and start-up. In case of leakage, open the filter, remove the o-ring from the glass, place a new o-ring and apply the lubricant, then tighten the glass again to the head and repeat the leak control as above.