What are UV-C rays
The small part of electro-magnetic spectrum having wave lenghts included between 100 and 400 nm (thousandths of micron) is defined as space of the ultra-violet irradiation. The UV-C are part of the subspace characterized by the wave lenghts included between 100 and 280 nm. For being effective in the disinfection, an electro-magnetic wave, besides being of certain kind (L=254 nm) it must possess also a minimum value intensity to be able to ensure a minimum dose to water.
A uv sterilizer, if correctly sized, is able to give water a dose sufficient for reducing almost all the commonest micro-organism present in water.

Applications
The uv system can be used.
- with well water (always recommend to perform some analyses of the well water to be able to verify the typology and the quantity of present bacterial position),
- for residential use with reverse osmosis system and microfiltration system.
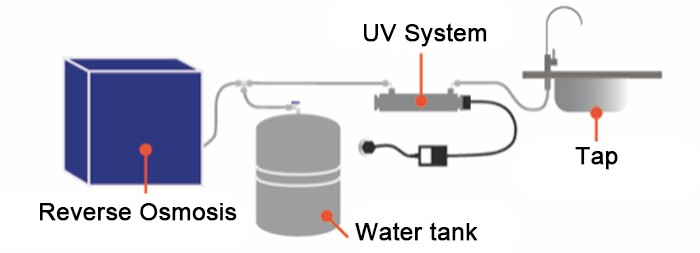
- for industrial use

Benefits
- UV-C acts instantly (without any stocking tank)
- compatibility with the other technologies (filtration, reverse osmosis, softening etc…)
- environmental treatment (without addition of chemicals)
- does not change the water taste
- praticalness
- low capital and operating cost
- easy to operate and maintain
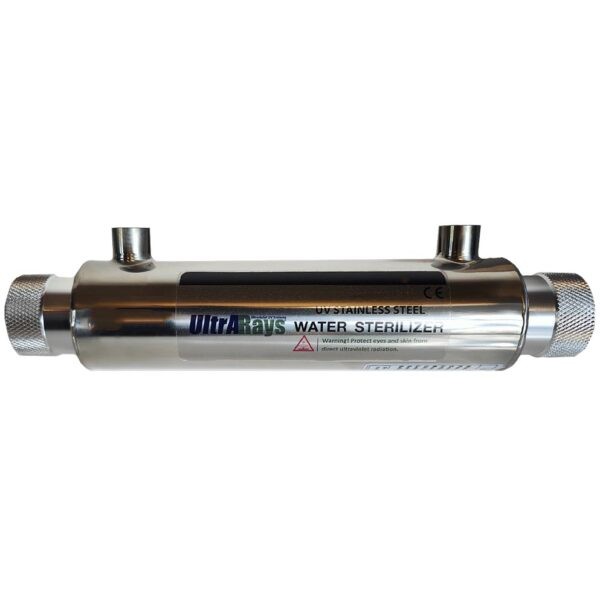
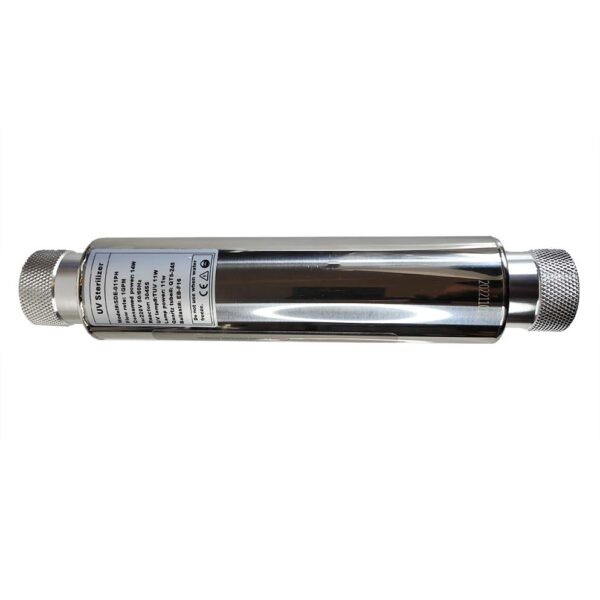
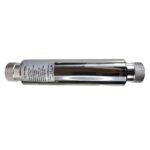
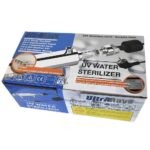
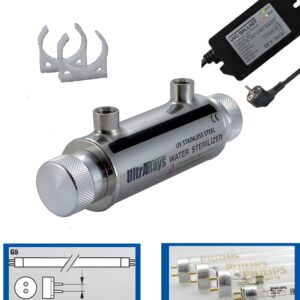
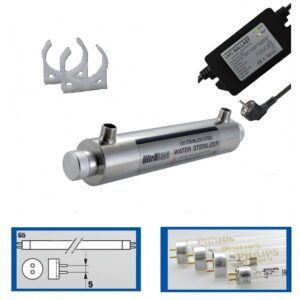
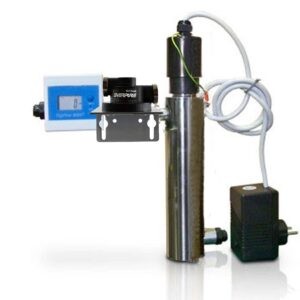
UV system 6 Watt features
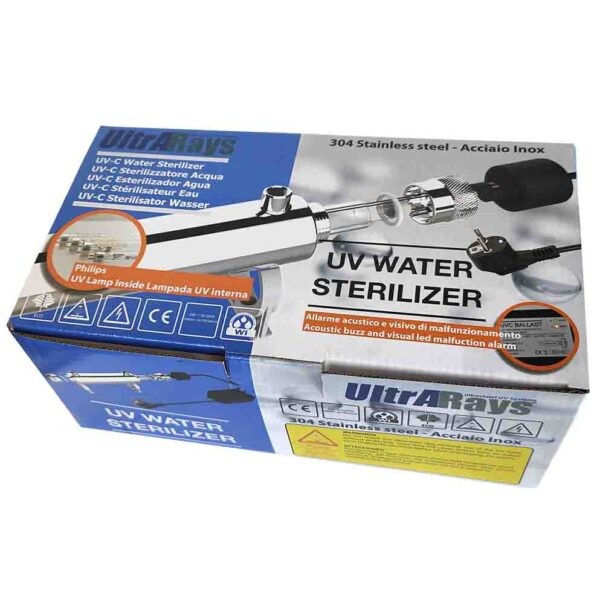
- AISI 304 stainless steel body
- in – out 1/4″ F
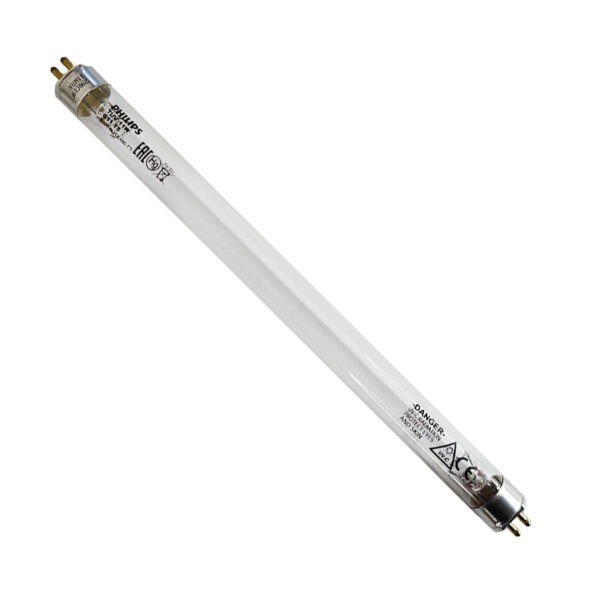
- cap base G5
- Max pressure: 10 bar (145 psi)
- Ultraviolet radiation: 30.000 W/cm2
- Flow rate filtered water: 1,3LT/MIN. (0,35 GPM)
- Flow rate osmotized water: 1,8LT/MIN. (0,48 GPM)
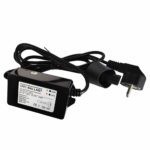
- Power supply: 220-240V 50/60Hz 0,03A
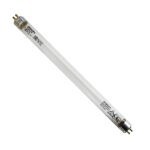
- Philips average lamp life: 9.000h. – max. 1 year
- Dimensions (mm.): L. 251 x Ø 51
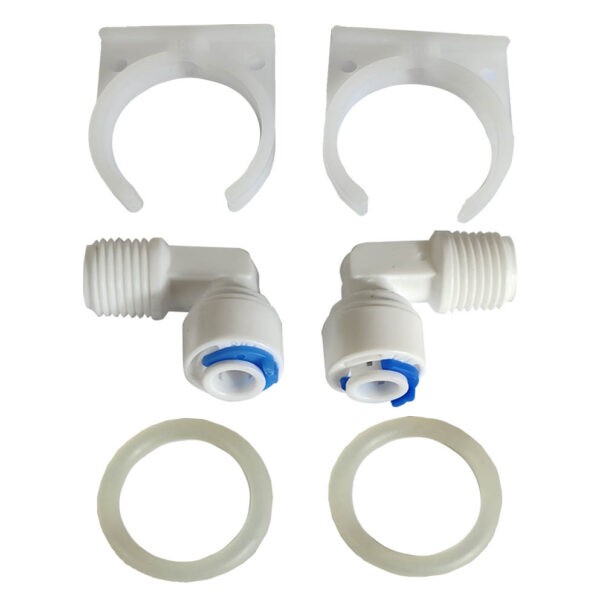
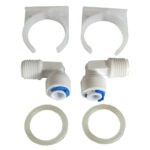
- the system is inclusive of clips for the fixing
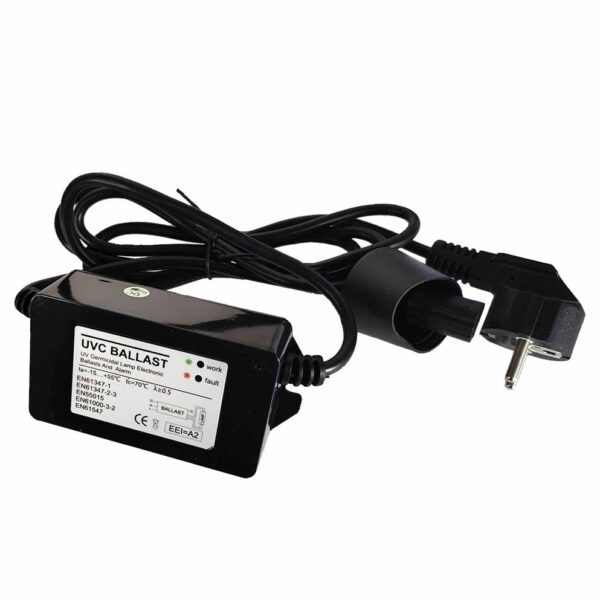
- uvc ballast with acoustic buzz and visual led malfunction alarm
Which are the factors that can be influence the right operation of the lamp
- The water hardness
- iron
- sediments in the water
For this reason it is necessary
- water softener to reduce the water hardness
- water systems to reduce iron in the water
We recommend installation
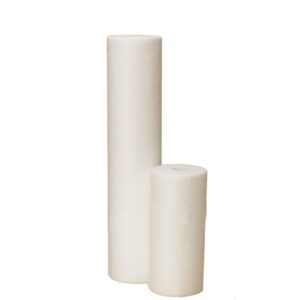
- an housing with a reeled polypropylene cartridge before the uv system to protect it.
Warning
- Do not watch the ultraviolet rays emitting out of the UV lamp without protection, since they will cause serious burns for naked eyes. Unplug the electrical ballast when maintaining the system.
Certification:
DM. 174/2004 italian certification.
How to install the UV system with a 6 watt Philips lamp
Name: Stainless Steel 304 ultraviolet water disinfection system.
Applications: Drinking water, food processing, medical and industrial etc.
Function: Disinfect bacteria, viruses, molds and algae in water.
Consumed Power: 8W-72W.
Input: 110V o 220V 50/60Hz.
System installation
STEP1
Open package to check all components inside: reactor chamber, UV lamp, quartz sleeve, o-ring, electronic ballast and support.
STEP2
Make sure that the quartz sleeve and UV lamp are clean before installation (clean with alcohol or mild detergent). Wear soft non-abrasive gloves to keep any finger marks away from them.
STEP3
Remove both open and closed end nut from reactor chamber.
STEP4
Install o-ring onto the open end of quartz sleeve (12 mm from the edge).
STEP5
Insert the quartz sleeve into the reactor chamber.
STEP6
Install o-ring onto the closed end of quartz sleeve.
STEP7
Install the cover cap and hand-tighten onto open end nut.
STEP8
Hand-screw open end nut on the reactor chamber (open end of quartz sleeve). To protect the o-ring, do not over tighten.
STEP9
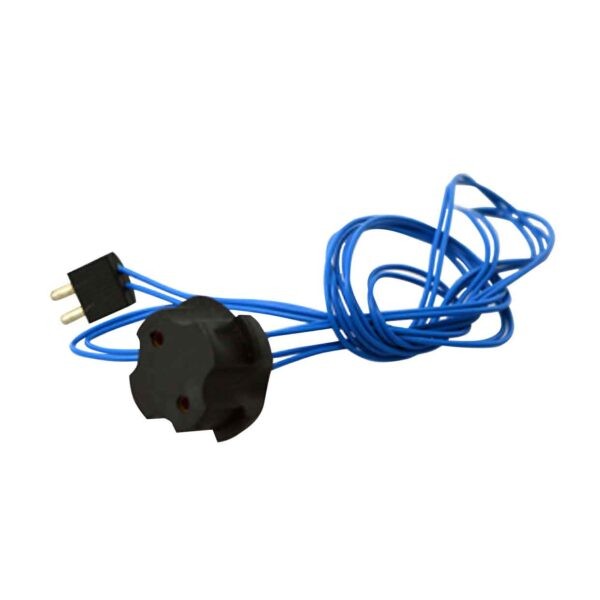
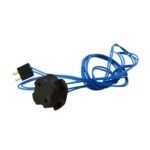
Connect 2-pin electrical socket with UV lamp pins tightly.
STEP10
Carefully insert the UV lamp into the quartz sleeve through open end nut.
STEP11
Install the cover cap and hand-tighten onto open end nut.
STEP12
Select a readily accessible and well lit location to fix the system. The system should always be located closest to the point of use and can either be installed horizzontally or vertically.
STEP13
When all plumbing connections are finished, slowly turn on the water supply and check for leaks.
STEP 14
Allow the water to run for a few minutes to clear any air or dust taht may be in the reactor chamber.
STEP 15
Connect the power for starting up.
System fuctioning
Water quality guidelines.
A – The ultraviolet disinfection system is intended for the use with visually clear, not
colored, cloudy or turbid water.
– Ambient water temperature: 2-45°C
– Iron: <0,3 ppm (0,3 mg/l)
– Hardness: <7 gpg (120 mg/l)
– Torbidity: <1 NTU
– Manganese: 0,05 ppm (0,05 mg/1)
– UV Transmittance: >75%
B – Recheck the installation before plug the sterilizer into power.
C – Do not proceed to install the equipment when U V lamp or quartz sleeve are broken.
Buy one again and continue.
D – Ultraviolet disinfection system is designed for continuous operation, frequent
switching will reduce ultraviolet radiation and service life.
E – If this unit falls into the water turn main power off and then retrieve it. Do not attempt
to use this sterilizer if it has been submerged.
F – Do not operate this unit if it has a damaged cord or plug, if it is malfunctioning or if
it has been dropped or been damaged in any manner.
G – The UV system should be installed after the filtration system.
H – Always keep closed the water supply and completely drain the water purifier if it will
be subjected to temperatures below freezing for extended periods of time.
System maintenance
A – Test monthly or before use, E
B – Lamp replacement is recommended every 9000 operation hours. After 9000 hours
(max 1 year), the lamp may still light, but the UV intensity can decrease.
C – Pulire il tubo di quarzo ogni 3-6 mesi con alcool o detergente delicato.


